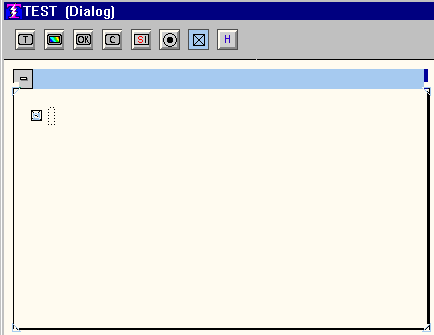

Then type in the text that identifies the function of the Check Box.
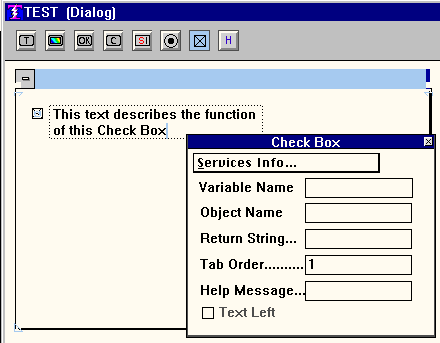
Press Enter to get more than one line of text. When the attention is on the Check Box, do a right click to get its' properties. Figure 2 illustrates this.
Figure2.

You must assign an object name to the Check Box so that your procedures will be able to address it in order to discover its' state (YES or NO). YES means the box is checked, NO means it is not checked. See the description of the MOVE
command for more information.
Any message that you enter into the "Help Message" slot will appear as a balloon help when the user places the cursor on the Check Box object.
Ignore the "Return String." The state of a Check Box is always YES or NO.
Ignore "Tab Order." "Variable Name" can also be ignored, but it is a handy documentation device. The idea is that you can tell yourself what variable name the procedures who interrogate this object will use. Then you are reminded when you look at the properties and do not have to dig into the procedures to discover this. It is not enforced, the burden is on you not to lie to yourself.
Copyright © 2019 , WhamTech, Inc. All rights reserved. This
document is provided for information purposes only and the contents hereof are
subject to change without notice. Names may be
trademarks of their respective owners.